-
Posts
48 -
Joined
-
Last visited
-
Days Won
19
Content Type
Profiles
Forums
Events
Shop
Everything posted by Dolando
-
Looks great! Better than the first dye burst I did. That should pop when you put finish on it. No string through holes says bigsby to me…?
-
-
No problems. Yea, veneers are usually like 0.5mm thick usually so minimal sanding! With spirit you have to work fast. A good tip is us a different tag for each colour and you can use them to help blend into the other colour. I’m sure there are loads of videos on dye bursts on YouTube. Thank you! That’s what I started with, now I’m on my 10th scratch build. I’m on Instagram as Dolan Custom Guitars if you fancy checking out some of my builds.
-
I’ve used Rothko and frost dartfords dyes before and they look good. Here’s a body I did with there walnut dye. Generally if you want to blend together use the same type but if you want to do a sanded back dark colour to accent the grain use a contrasting type. Water based contrast and spirit over the top. It will prevent it reactivating the dye underneath. Water based dye will raise the grain, so best to use that if you plan to sand back to accent grain. Spirit don’t as much but fry quicker so blending can be harder. Best way is to get some and do some tests on the same wood if you can.
-
-
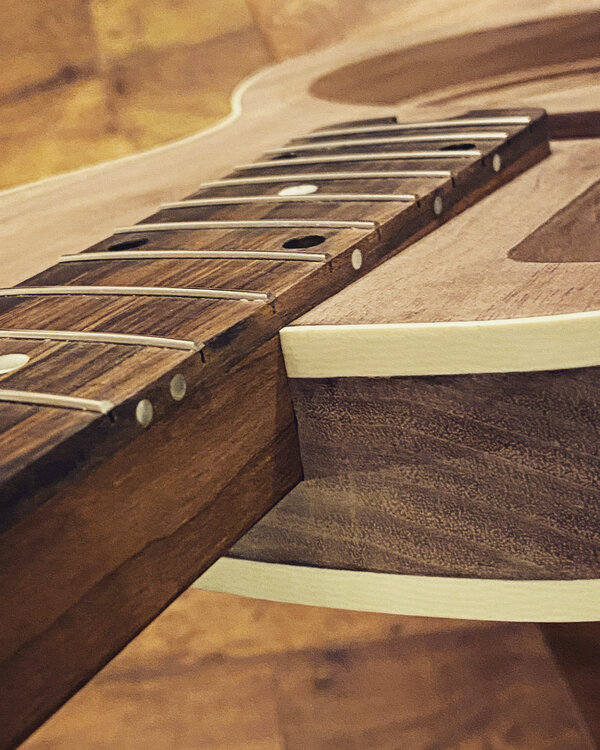
Side dots…so easy to rush and make them look messy, especially the 12th fret. And ish the part that the player will be looking at most.
-
Thank you! First time trying this idea, I’m just glad it worked out.
-
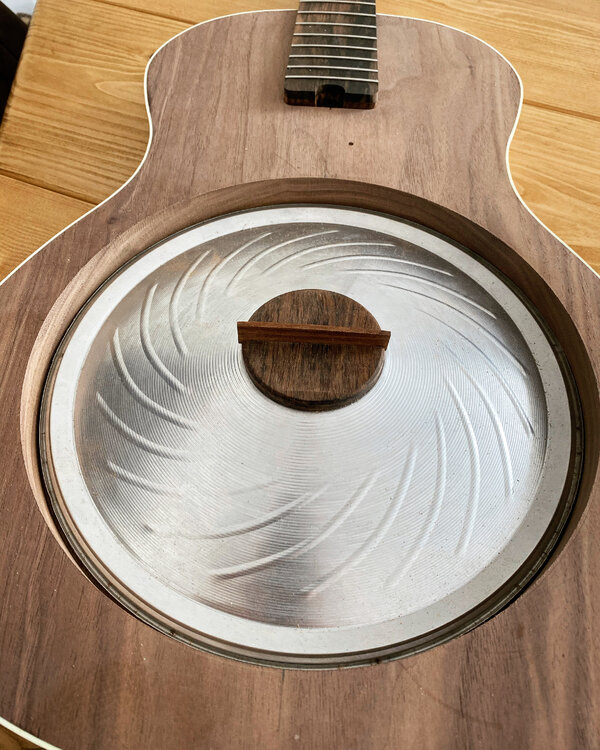
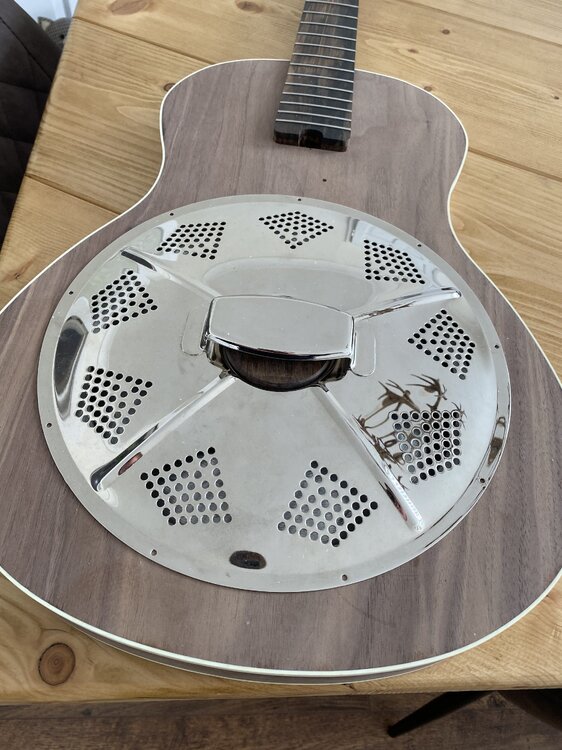
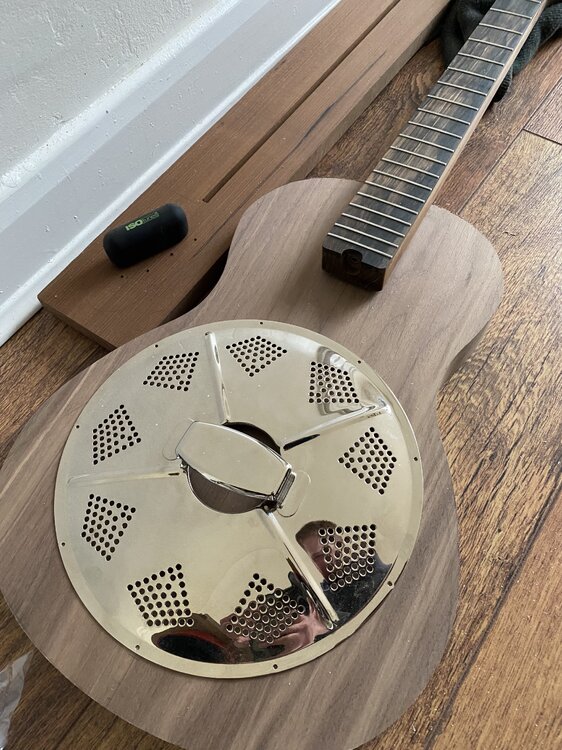
Hello all, I decided to take some influence on how the old resonators are put together. This neck is attached using a more modern approach using threaded inserts and m4 bolts. These will be hidden to keep the clean acoustic look on the back of the guitar. Check out the short video below; IMG_0029.MOV Music is not my own. Music credit: Ryan Bingham - The Weary Kind
-
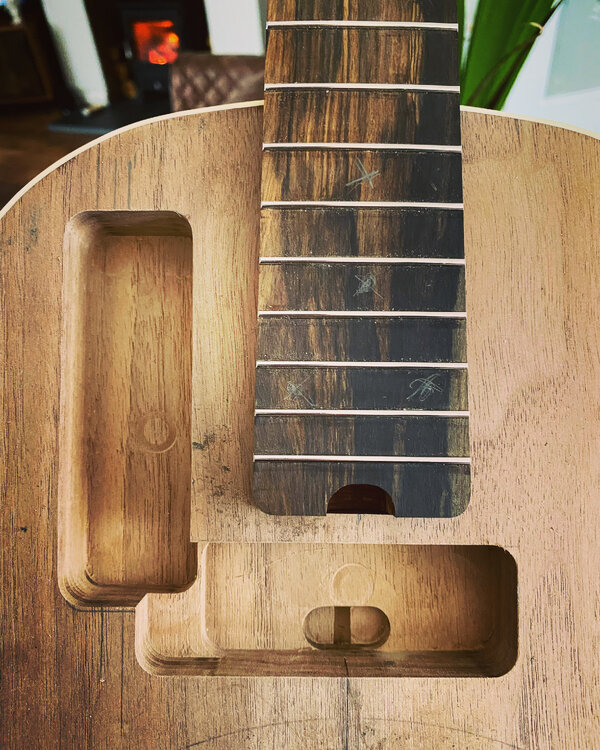
Not made loads of progress as waiting on some bits to bolt the neck to the body. But here is where the pickup and controls will be going.
-
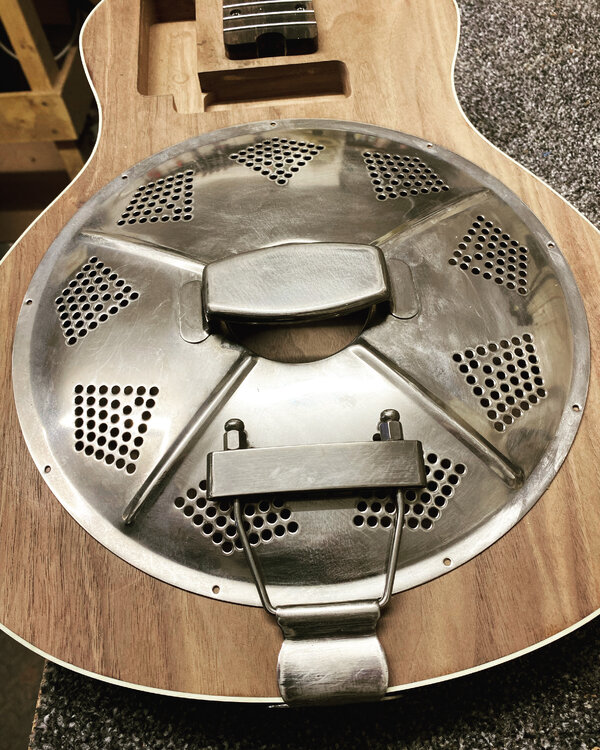
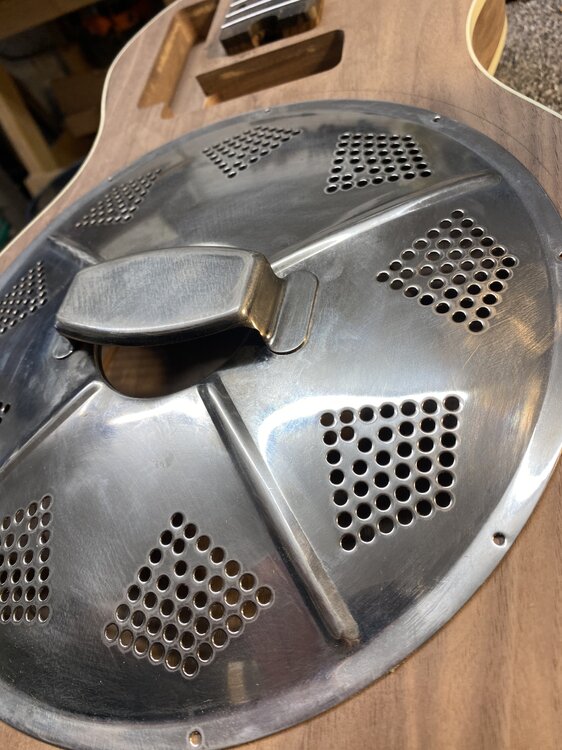
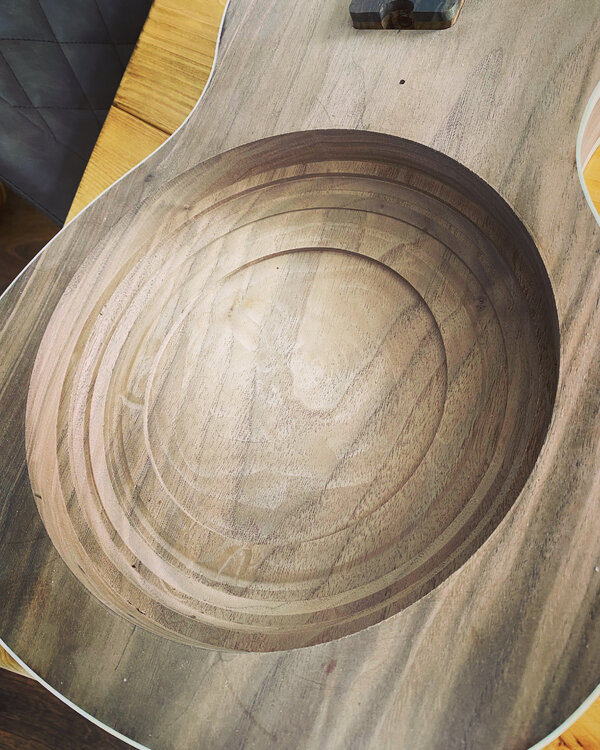
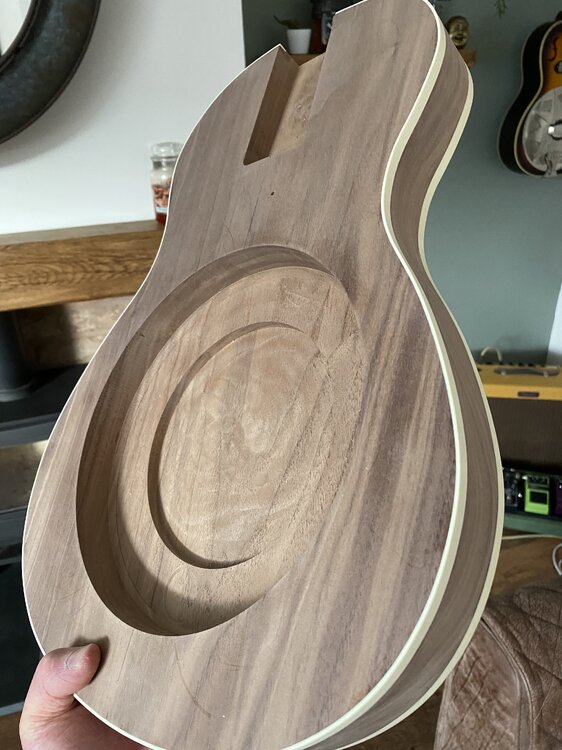
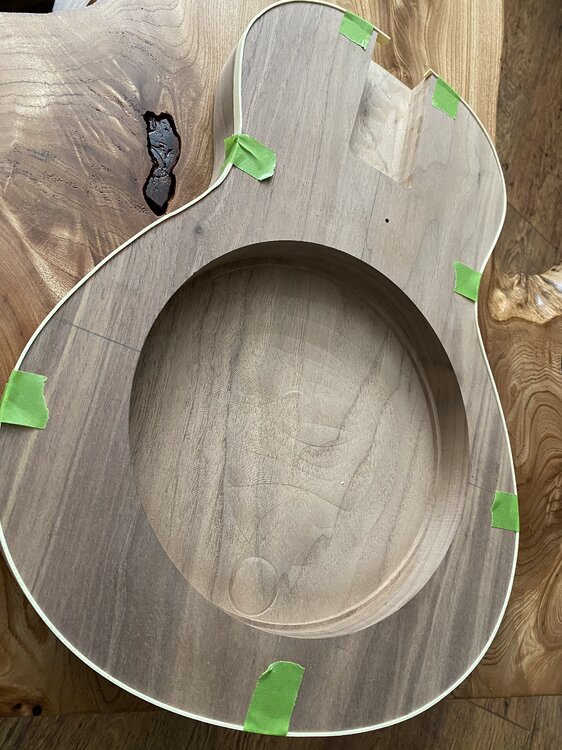
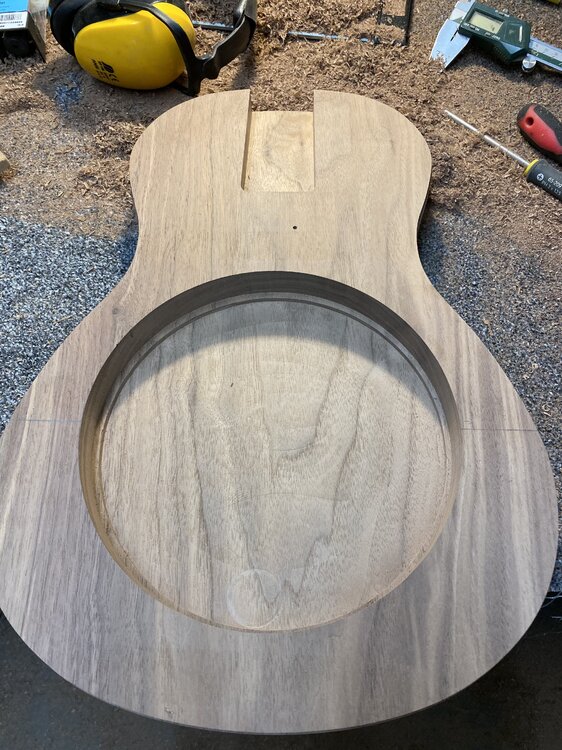
Cone height routed in, which is essentially decided the height of the bridge to be fine tuned with the roasted maple saddle. Here’s the final shape of the route. Tried to make it as bowl like as possible…
-
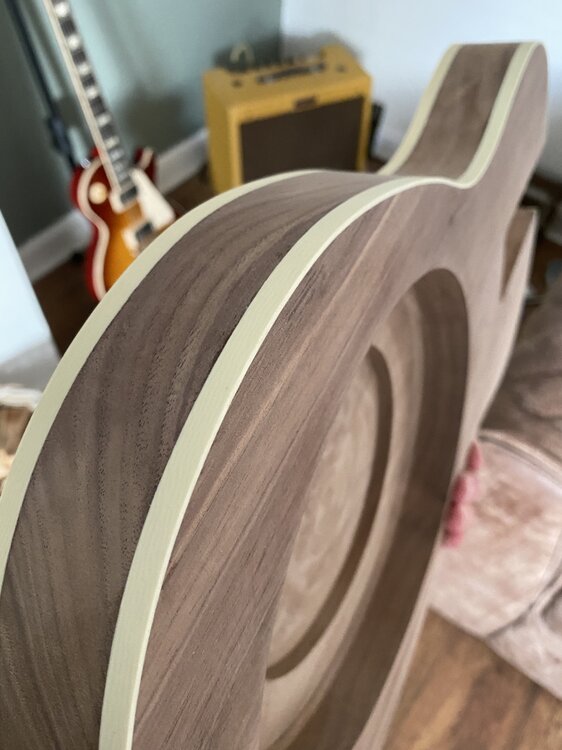
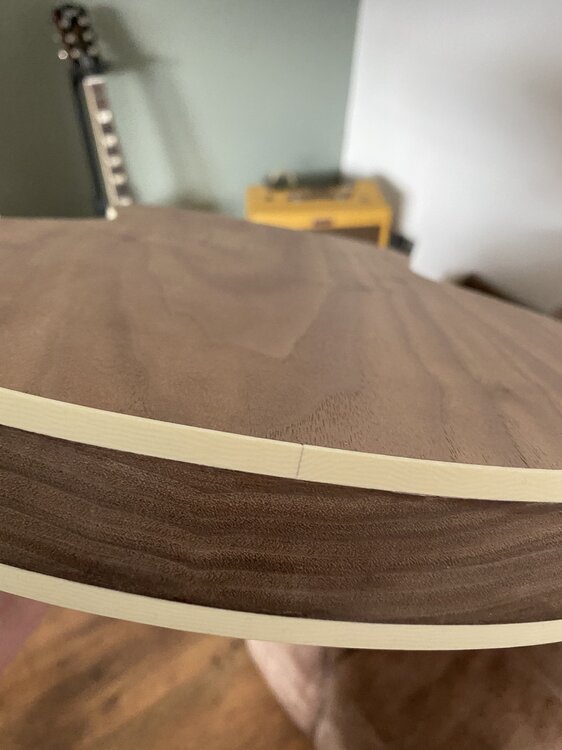
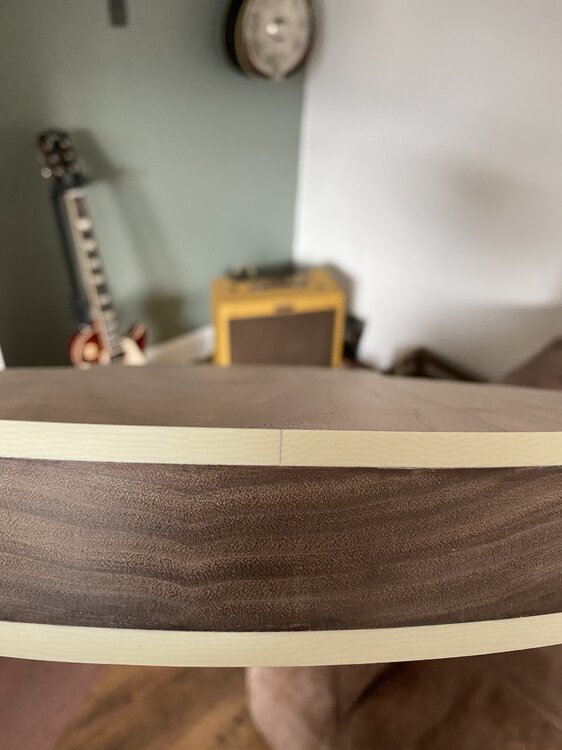
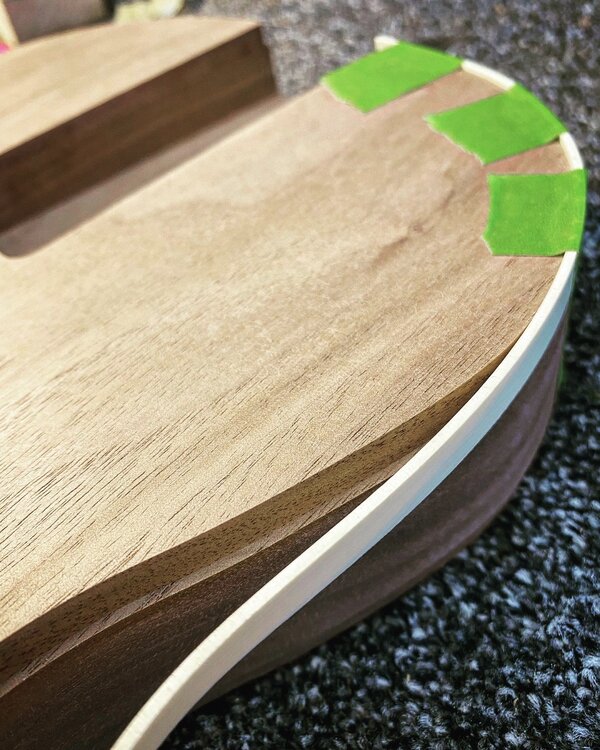
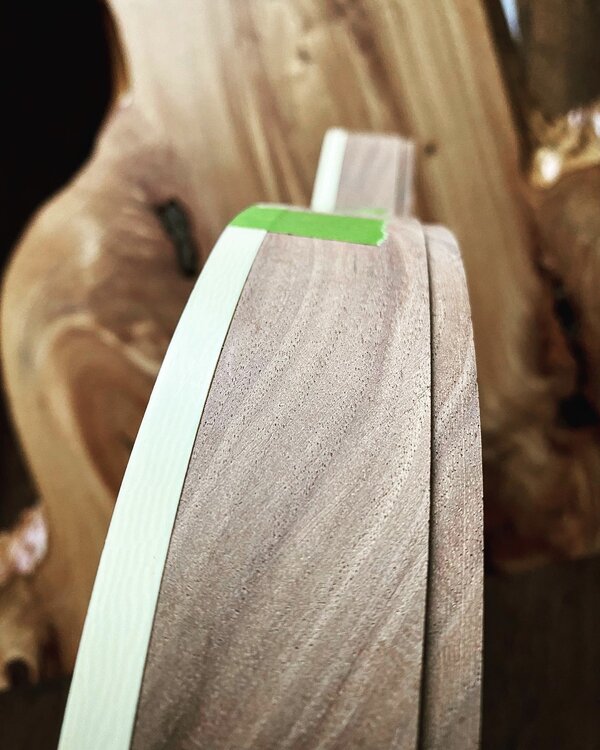
Binding is glued and trimmed flush. Really happy with how this has come out for my first go at binding. Will certainly be doing it again.
-
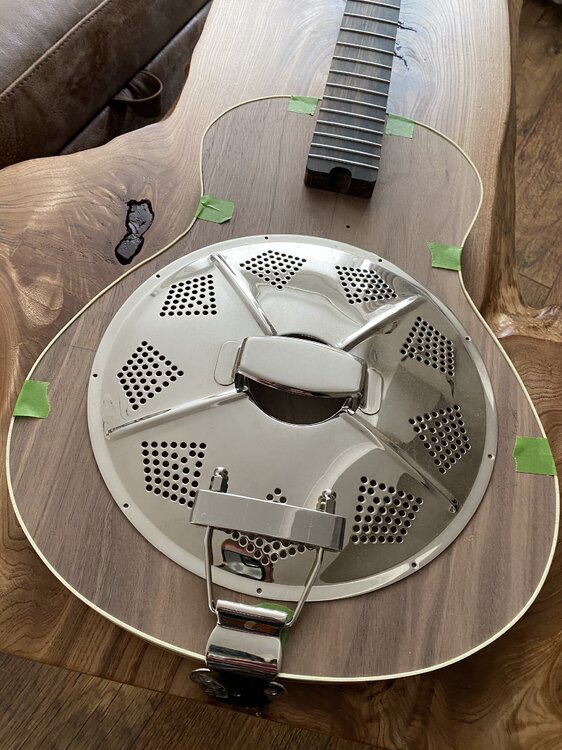
Binding time…I’ve never done binding so thought I’d bite the bullet and give it a go on this one…. Slowly bending the binding. This was a big learning curve. There is a fine line between heating it enough it bends and burning it! I had to order another length as i burnt it on the last bend! First side all done….need to wait for the new binding to arrive. Still couldn’t resist a mock up.
-
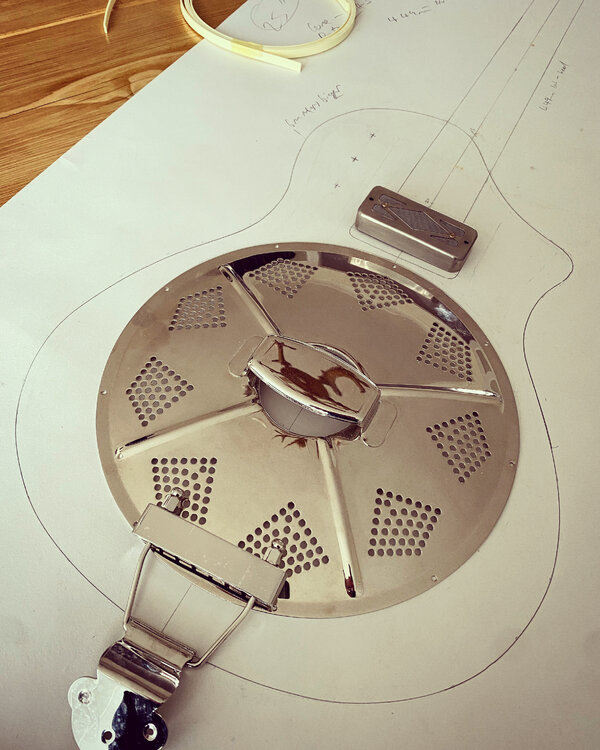
Can never resist a mock up… Then I made lots and lots and lots of dust routing the first part out of the centre for the cone. Basically it full depth but have a plan to get the most volume, and also the making it as bowl like as possible.
-
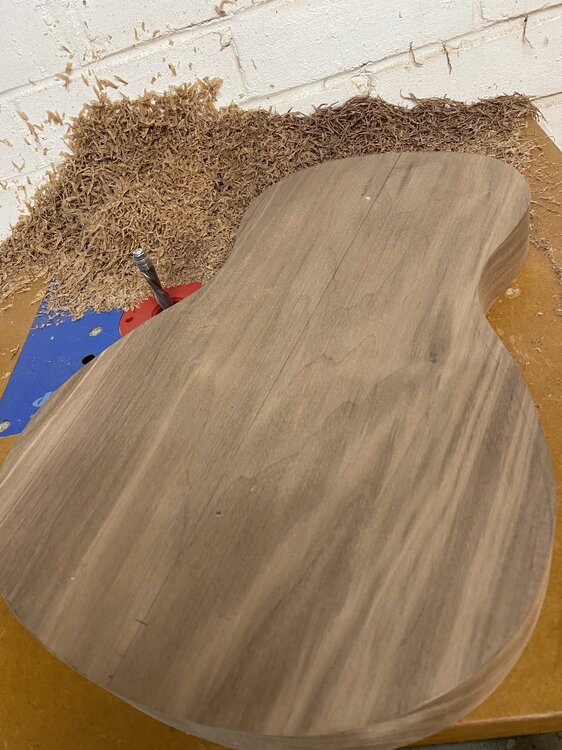
Body shaping time…I ended up tweaking the shape and going for full on reso shape. Cut from bandsaw; IMG_9125.MOV Routing; FullSizeRender.MOV Final shape.
-
True, I have templates to do pretty much any scale I’d need. 34/35” 25/25.5” and 24.750/24.625. So I’m set, and now thins is my 10th build ive certainly got my moneys worth from it.
-
Yea it’s not tricky but like you say cutting it accurately again and again is different thing. Ideally you would also need to have long callipers to measure each slot from the nut but you still might not get them all right.
-
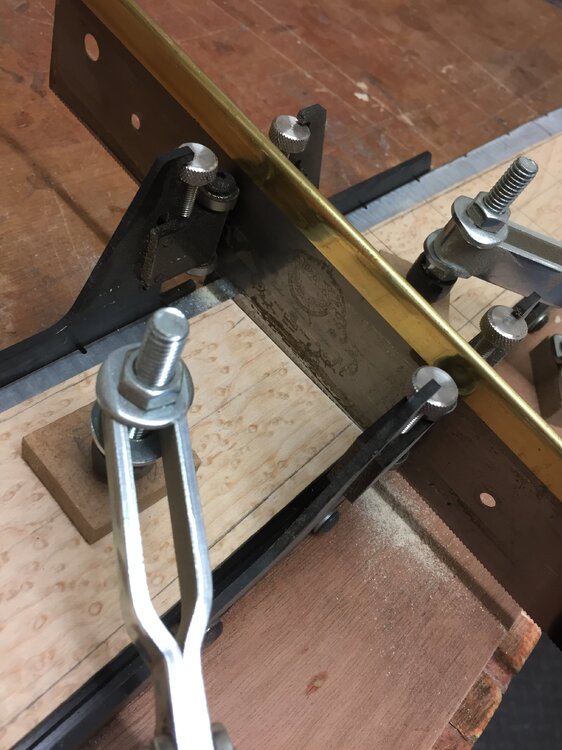
Thank you. This is my 10th build. I’ve certainly made plenty of mistakes along the way. I have a fret slotting jig, takes some time but means they are done right. This is from another fingerboard but it has a template and a notch that it follows so they are sawn correctly spaced.
-
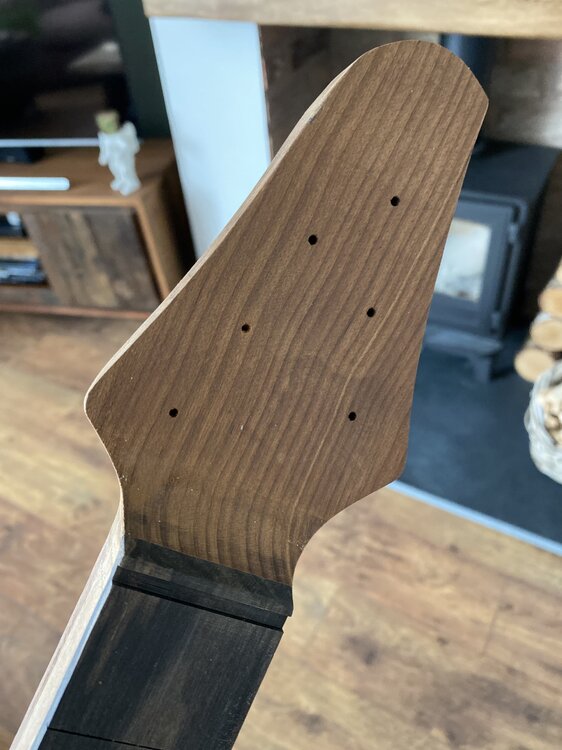
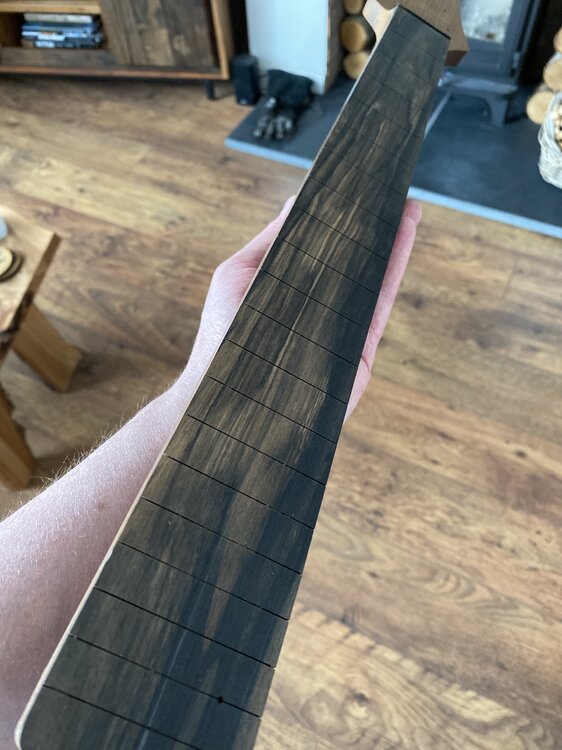
Made some progress on the roasted neck. Glued on the fingerboard and trimmed the neck. I also trimmed the headstock thickness and routed in the curve behind the nut with a large over bit and a little jig. The good thing about roasted necks they are mega dry and stable. This also means they are really brittle and tricky to route and get tear out. IMG_9122.MOV Love this bit of ebony.
-
The washing machine is still intact. Thank you, it will come together in due course.
-
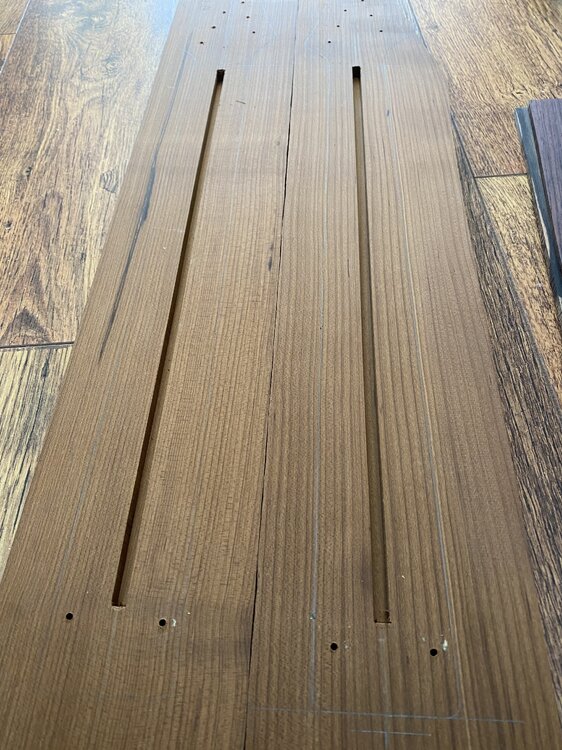
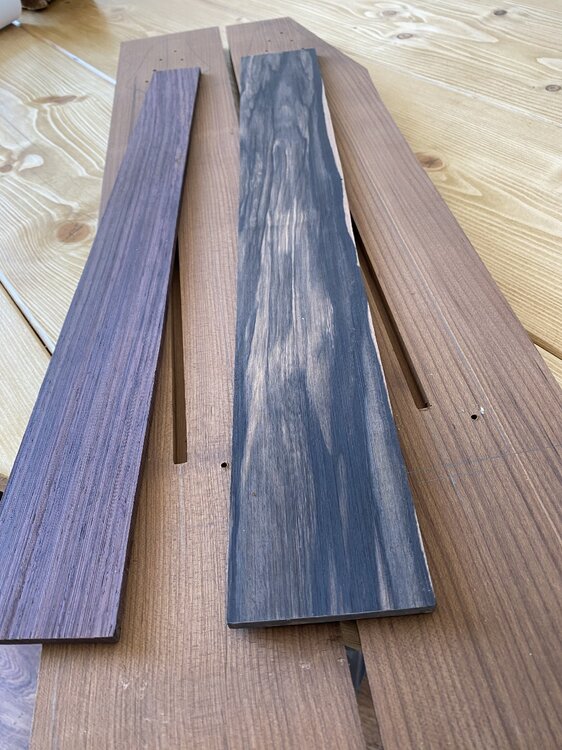
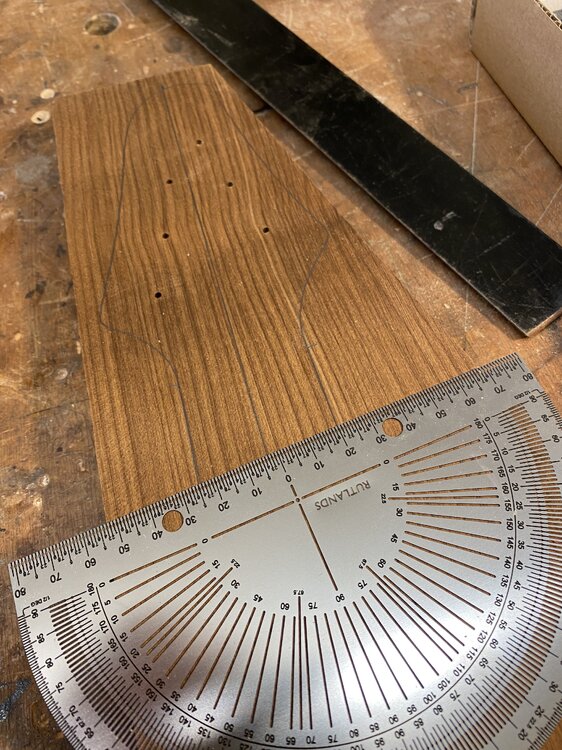
I have managed to make a start on the neck. I plan on another project after this, and I have a jig I used to route these perfectly central, so I did the truss rod routes on both of them. You can also see the fingerboards I plan to use on both. I also marked out the headstock and tuner holes. These were transferred from my master template so I can get them correct every time.
-
Thank you.
-
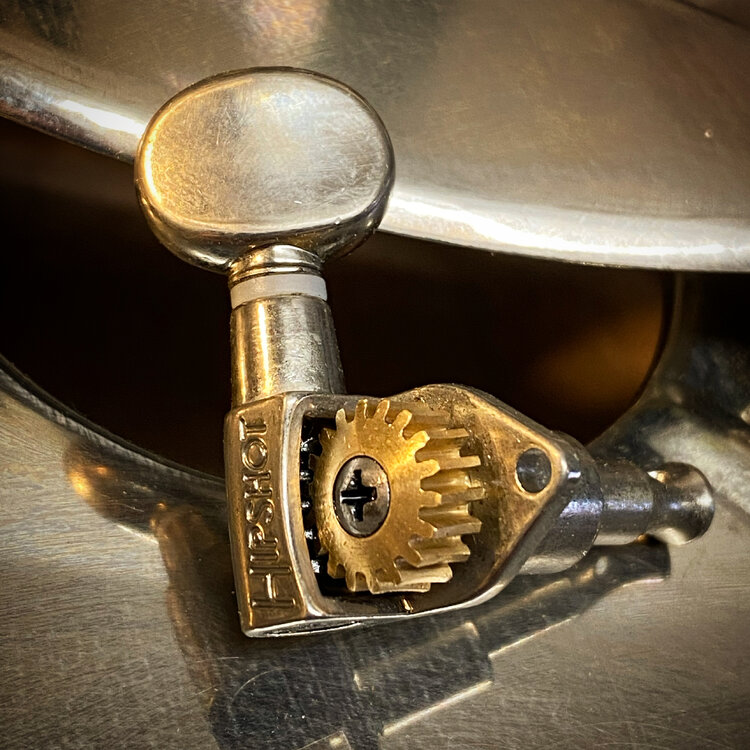
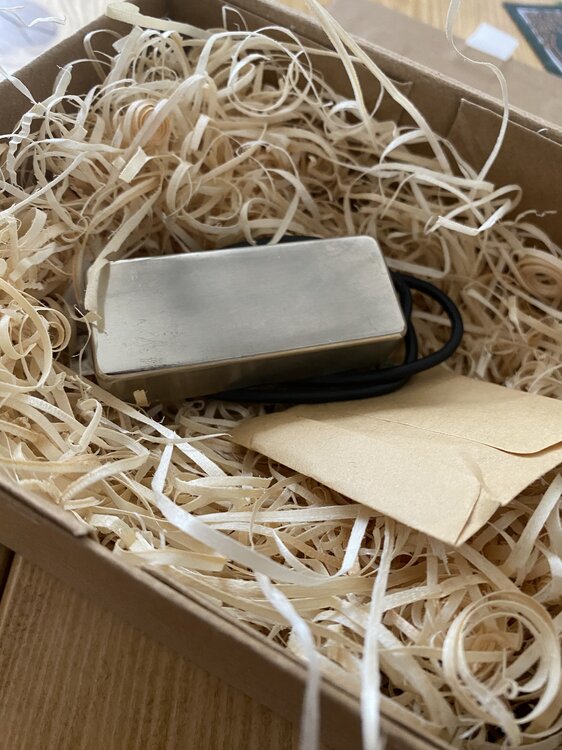
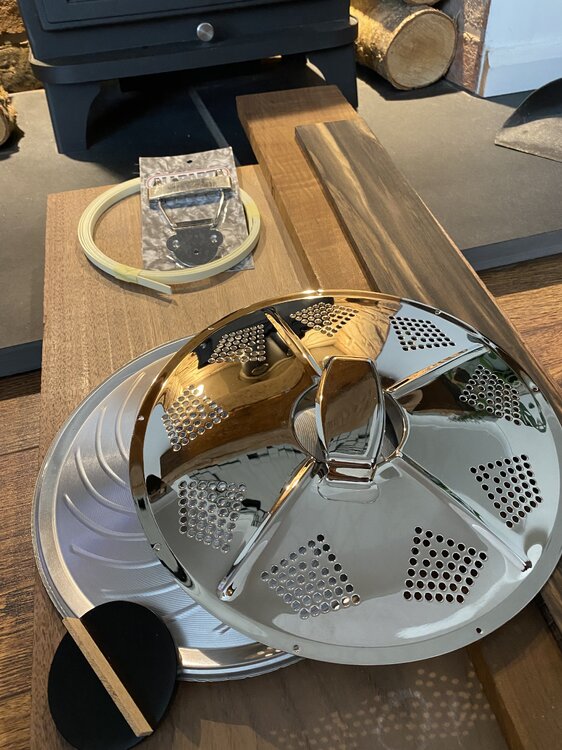
Hello all, Long time BassChatter, first time GuitarChatter. I am currently in the process of a proof of concept guitar…an electric resonator. Here’s the initial design and parts and woods I’m going to be using; Specs will be; 1 piece walnut body Roasted Maple neck hipshot tuners biscuit bridge Monty’s Firebird neck pickup Cream double binding I hope some of you will be interested in seeing this come together.
-
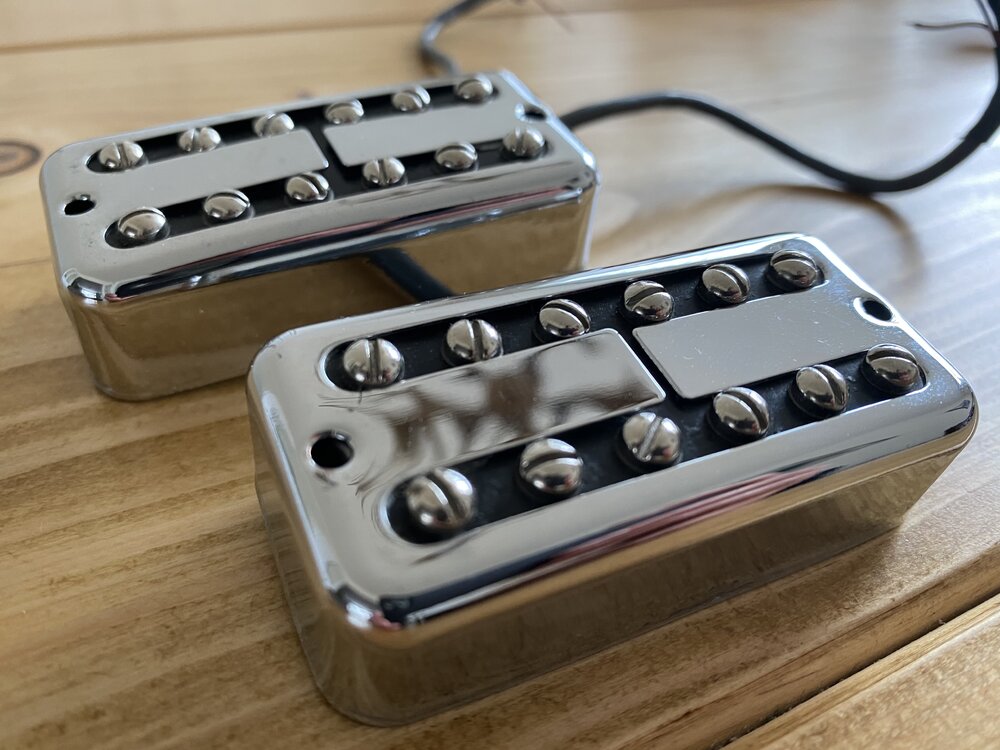
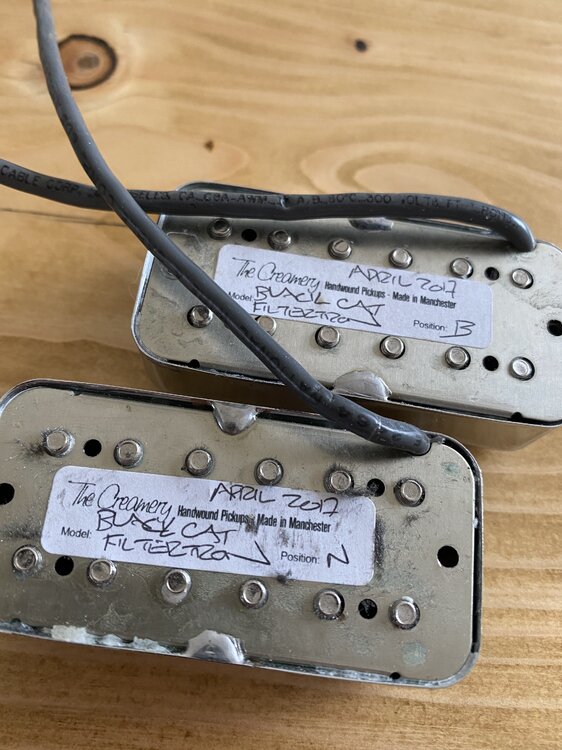
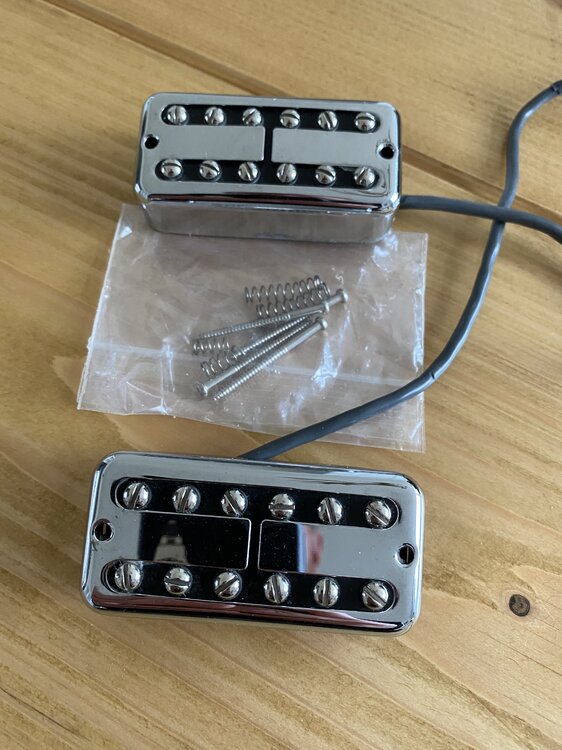
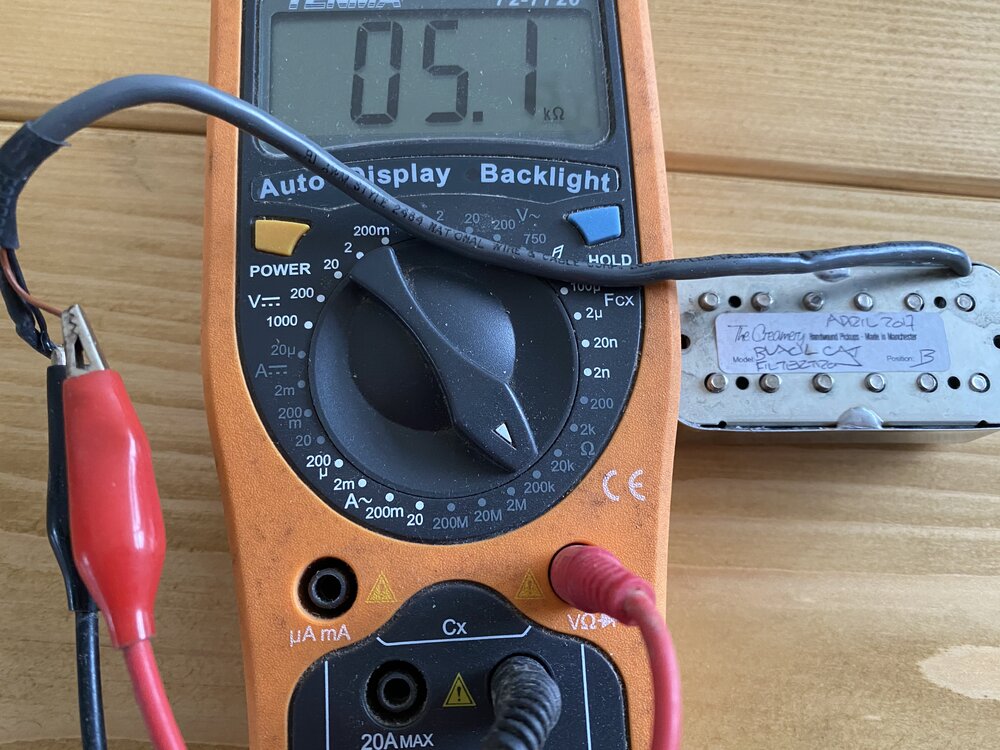
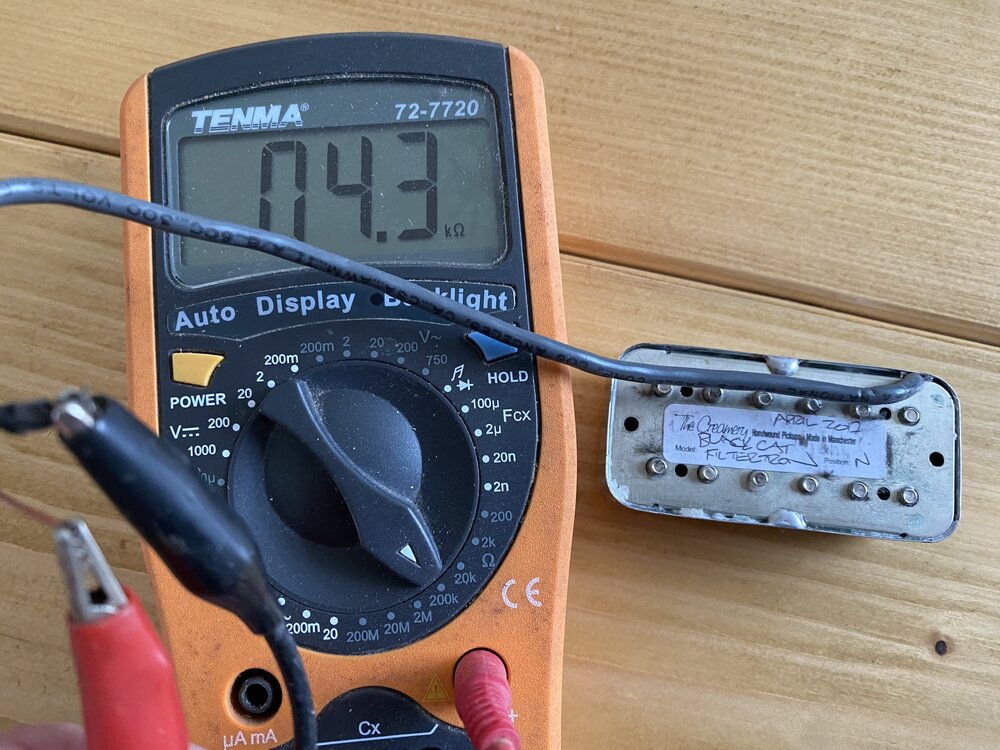
I have had these in my guitar for a bit and really like them but fancy something different, so don’t see the point in having them kicking around getting damaged. Both pickups are fully working and in great condition and come with mounting screws and springs. Creamery have a bit of a wait for new pickups so beat the long wait time… I haven’t sold or posted much on GuitarChat, but please see my feedback from BassChat. £115 + £6 delivery (will be sent via ParcelForce48) Black Cat Pickup Demo Video

